Jira alert method
The Jira alert method automatically opens a Jira issue to notify you whenever an incident is triggered.
Authentication
Setting up the Jira integration requires an API token. You can obtain this by logging into your Jira account and clicking on your profile. See the Atlassian account documentation for more details.
Adding the Jira alert method
Alternatively, utilize the SLOs-as-code approach by:
- Applying an alert method YAML configuration with the
sloctl applycommand. - Configuring the Jira alert method definition programmatically using the Nobl9 Terraform provider.
For this alert method to function correctly, the following prerequisites must be met:
-
The user must have access and permission to create an issue in a project. Otherwise, the Nobl9 backend will receive an error from the Jira API, and the ticket will not be created.
-
All fields designated as mandatory by Nobl9 project settings must be included in the Nobl9 Jira message, or ticket creation will fail. For example, you may need to include values for the Due date or Fix versions fields.
-
By default, the Nobl9 Jira message contains the following fields:
-
Summary
-
Description
-
Issue Type (always set to
Bug)
-
Caution: In order for a Jira alert to be sent, all the above-mentioned fields need to exist in your Jira project.
Nobl9 Web
- Navigate to Integrations > Alert methods.
- Click
 .
. - Select Jira.
-
Enter the URL (mandatory).
The URL must start withhttps://. -
Enter a Username (mandatory).
Typically, the username is the email address of the person that owns the API token. -
Enter an API Token (mandatory).
For more information, refer to the Authentication section. -
Enter a Jira Project Key (mandatory).
The code of the project, for example: PC, AT, PM.
- Select a Project (mandatory).
Projects provide the structure for organizing Nobl9 resources and managing access permissions.
If a project is not specified, Nobl9 assigns the default project value automatically. - Enter a Display Name (optional).
Spaces are allowed. - Enter a Name (mandatory).
It can only contain lowercase, alphanumeric characters, and dashes (for example,my-alert-method-1). Nobl9 auto-populates this field based on the display name you enter, transforming it into the supported format. You can edit the result. - Enter a Description (optional).
Provide extra details, such as the purpose and responsible personnel.
Up to 1050 characters.
- Click Add alert method
YAML configuration for Jira alerts
- YAML
- Example
apiVersion: n9/v1alpha
kind: AlertMethod
metadata:
  name: string # Mandatory
  displayName: string # Optional
  # Optional
  # The key value: only alphanumeric characters, `-`, `_`, or `.` are allowed.
  # The key value must start and end with an alphanumeric character.
  # An optional DNS subdomain prefix followed by `/` is allowed.
  annotations:
    key: value
spec:
  jira:
    url: string # Mandatory, must start with https://
    username: string # Mandatory
    apiToken: string # Mandatory, secret
    projectKey: string # Mandatory
apiVersion: n9/v1alpha
kind: AlertMethod
metadata:
  name: jira
  displayName: Jira Alert Method
  project: default
  annotations:
    area: latency
    env: prod
    region: us
    team: sales
spec:
  description: Example Jira Alert Method
  jira:
    url: https://nobl9.atlassian.net/
    username: jira-alerts@nobl9.com
    apiToken: "123456789"
    projectKey: AL
Here’s a description of fields:
-
urlis the Jira instance URL. Thehttps://prefix is required. -
usernameis the email address of your API token owner. -
apiTokenis your API token, which you create by logging into your Jira account and clicking on your profile.noteThe
apiTokenis kept secret and is not returned with thegetcommand insloctl. When you create the alert method, theapiTokenfield is required; it’s optional when you’re updating the alert method. The updated alert method uses the behavior from the existing object. -
projectKeyis the code of the Jira project:AT(alert test),PM(project management), etc.
Testing the Jira alert method in the UI
- Navigate to Integrations > Alert methods.
- Click the required alert method.
Its Details page opens. - Click Test under the alert method name:
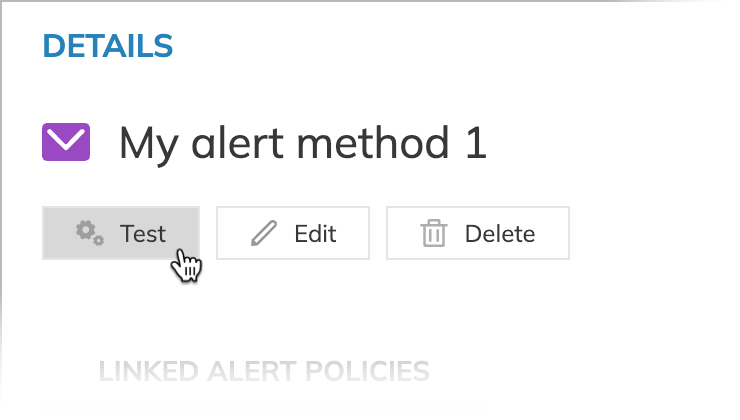
- When the configuration is correct, Nobl9 displays Test completed successfully! under the button.
- Otherwise, the Test failed message appears. It contains the details of incorrect settings.

